Project Bill of Quantities (BOQ)
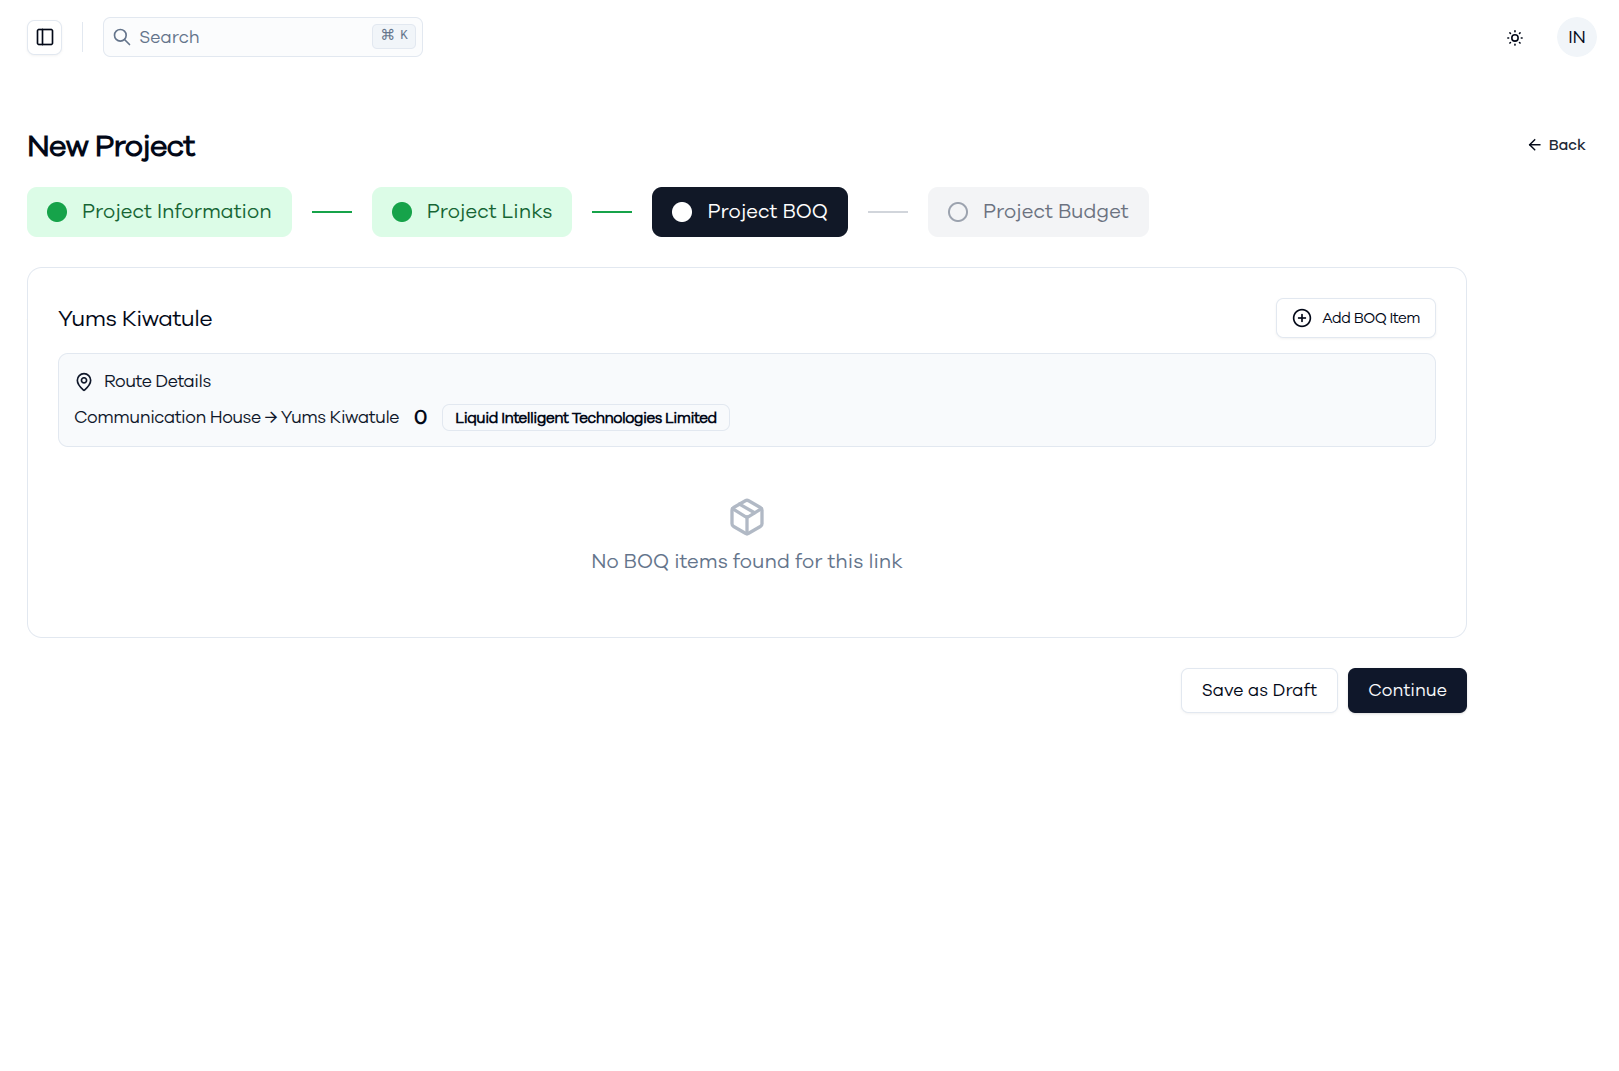
The Project Bill of Quantities (BOQ) is the third step in project creation where you define all the materials and equipment required for each project link.
Accessing Project BOQ
After completing the Project Links step:
- The Project BOQ tab becomes active in the navigation
- You'll see a list of all links defined in the previous step
- Each link displays its route information and client details
- Links start with "No BOQ items found" until materials are added
Adding BOQ Items to Links
1. Initiate BOQ Item Addition
To add materials to a specific link:
- Locate the link in the BOQ interface
- Click the Add BOQ Item button for that link
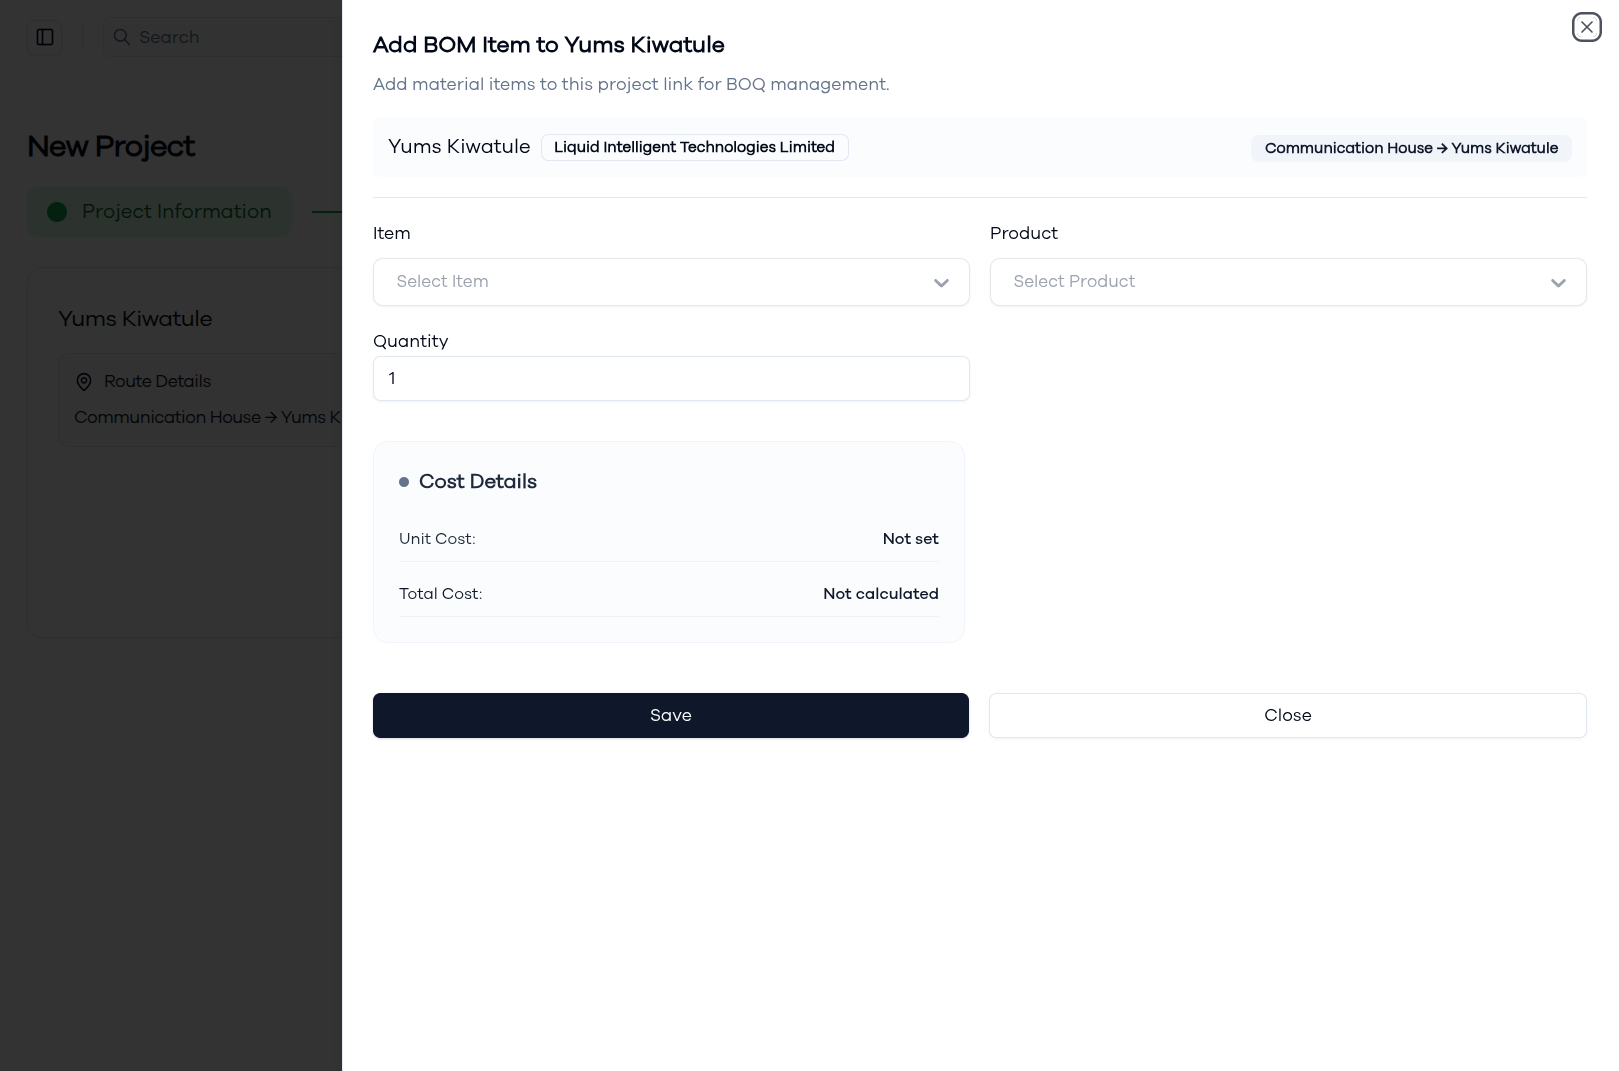
- The "Add BOM Item to [Link Name]" dialog will open
- You'll see the link details including route and client information
2. Configure BOQ Item Details
Item Selection:
- Use the Item dropdown to select the material category
- Choose from available item types in your catalog
Product Selection:
- Use the Product dropdown to select the specific product
- Products are filtered based on the selected item category
- Each product has defined specifications and pricing
Quantity Configuration:
- Enter the Quantity required for this link
- Default quantity is 1, but can be adjusted as needed
- Consider the specific requirements for the link distance and complexity
3. Cost Information and Calculations
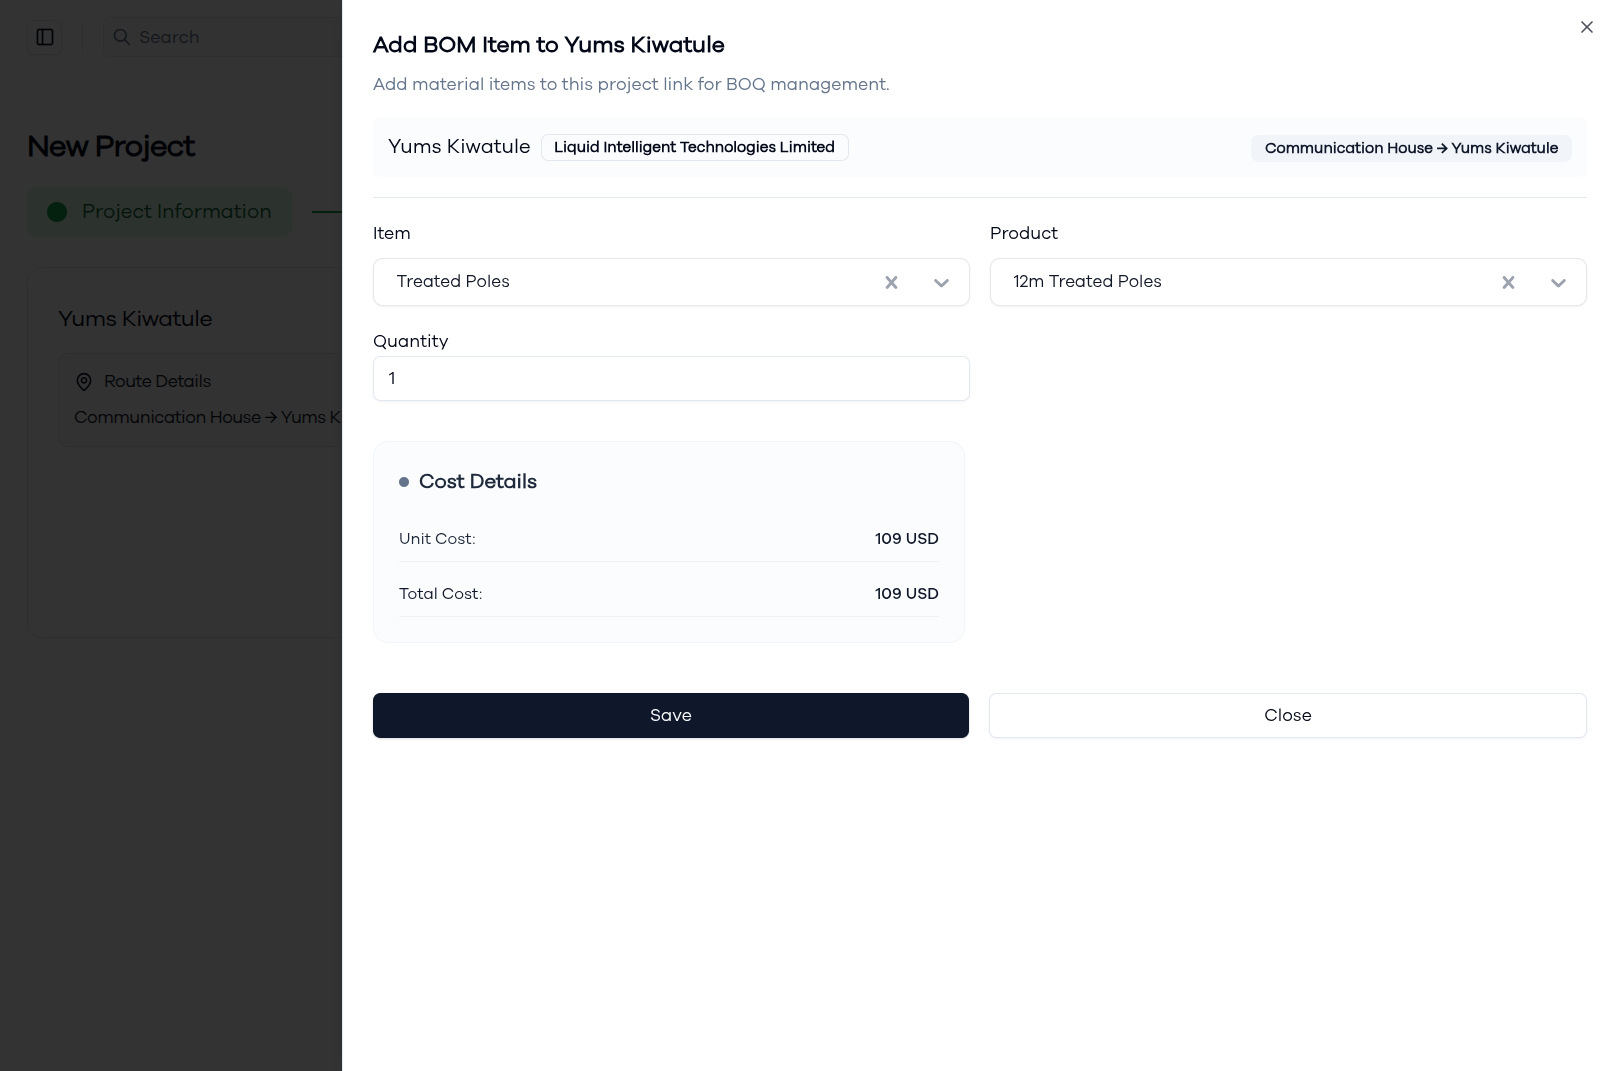
Automated Cost Calculations: The system automatically calculates costs based on your selections:
Cost Details Section:
- Unit Cost - Price per individual item (automatically populated)
- Total Cost - Calculated as Quantity × Unit Cost
- Costs are displayed in your configured currency (e.g., USD)
Cost Updates:
- Costs update automatically when quantity changes
- Unit costs are pulled from the product catalog
- Total costs feed into project budget calculations
4. Save BOQ Items
To complete the BOQ item addition:
- Review all selections and quantities
- Verify the calculated costs are correct
- Click Save to add the item to the link
- The dialog will close and return you to the BOQ overview
5. Review Added BOQ Items
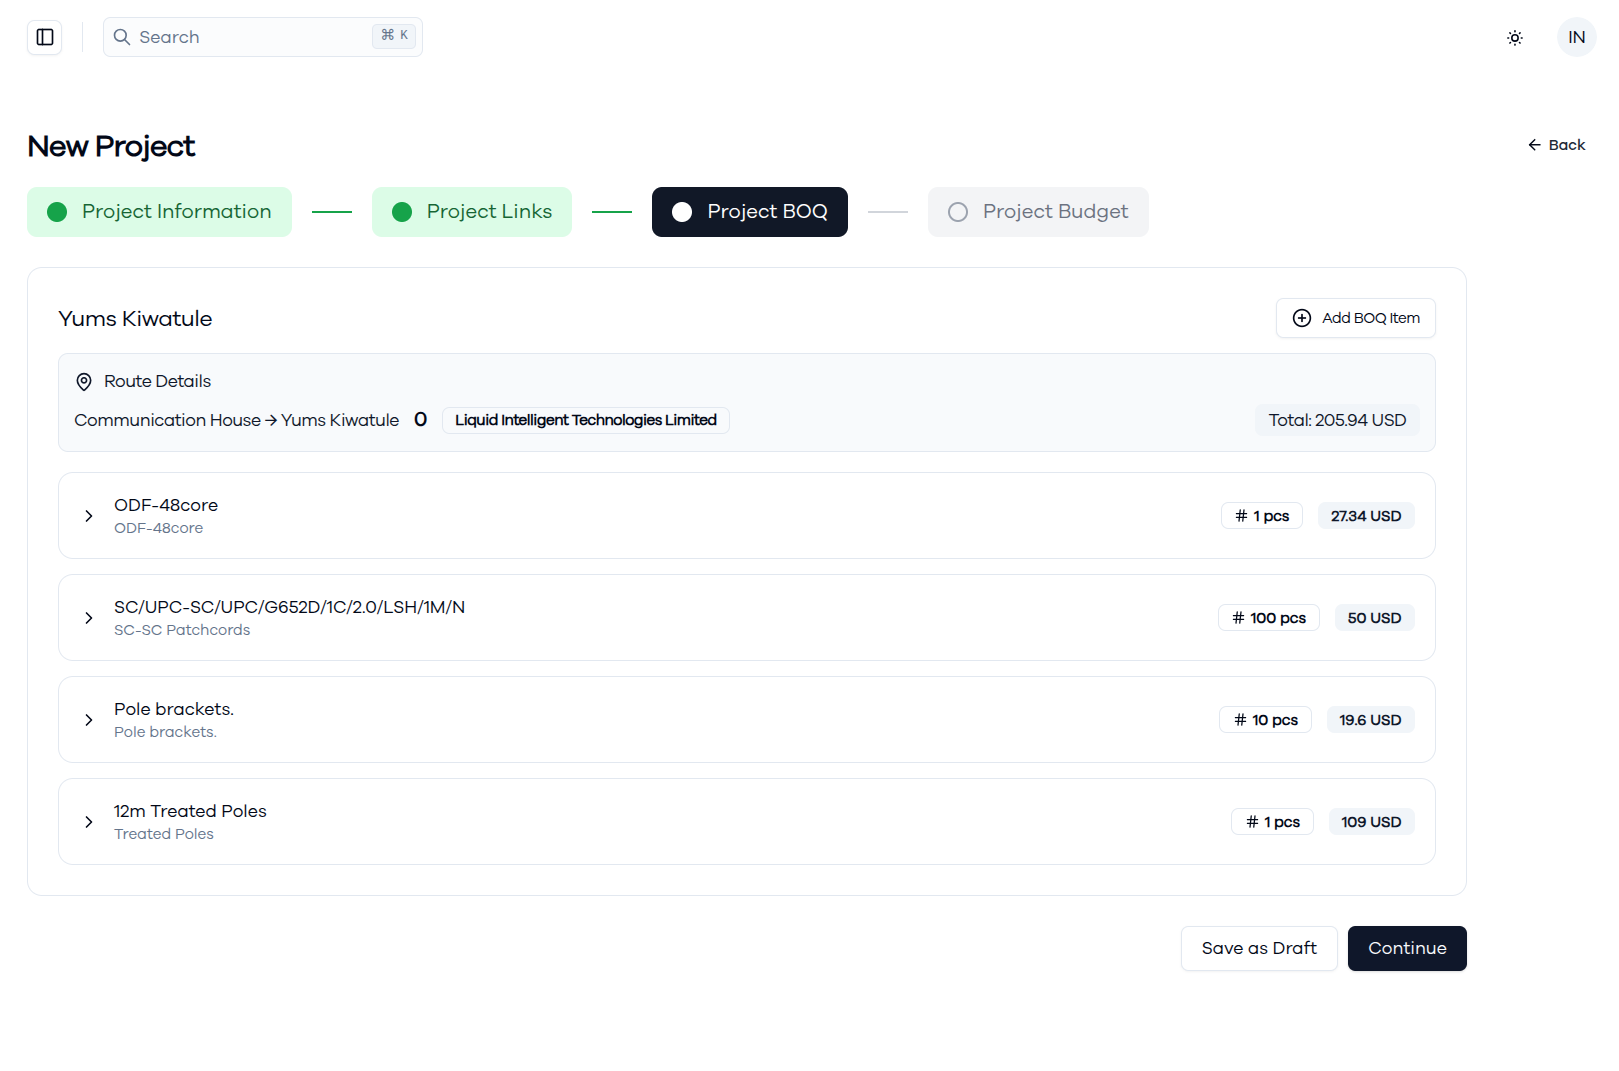
After adding items, you'll see them listed under each link:
BOQ Display Information:
- Item Categories - Grouped by material type (e.g., ODF-48core, Treated Poles)
- Product Details - Specific product names and specifications
- Quantities - Number of items required with unit indicators
- Costs - Individual item costs and running totals
- Link Totals - Total cost summary for each link
Item Organization:
- Items are grouped by category for easy review
- Expandable sections show detailed item information
6. Complete BOQ Configuration
When finished adding all required materials:
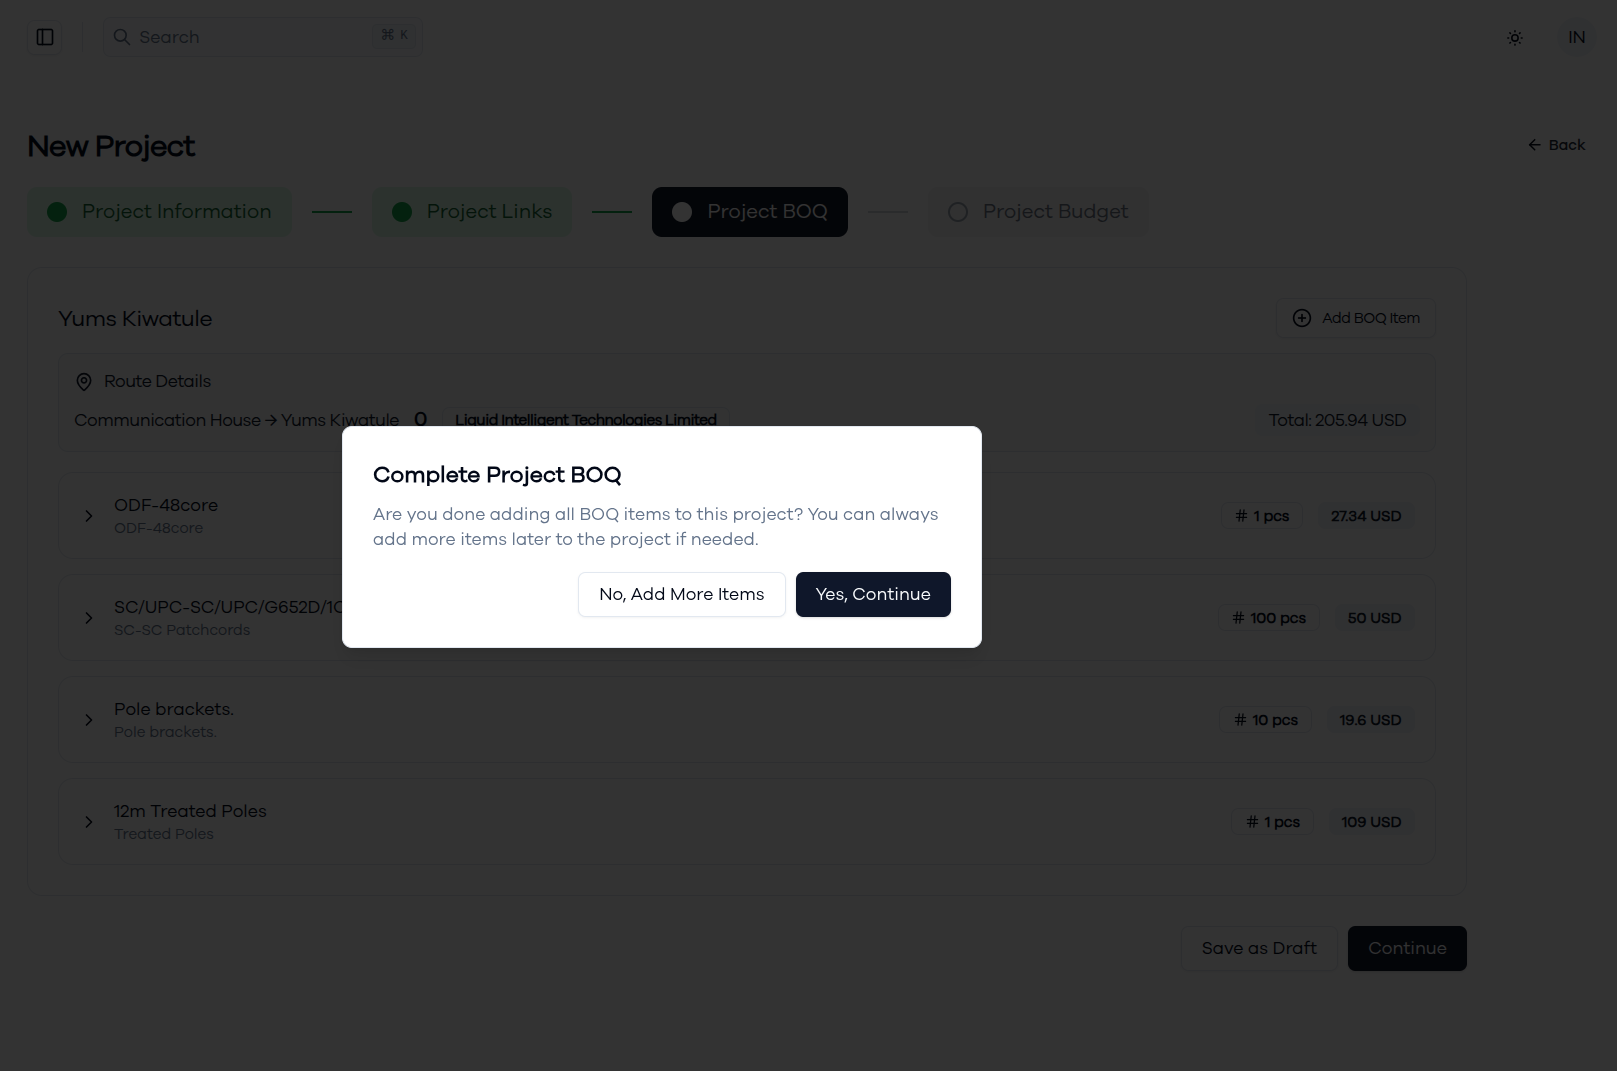
Completion Options:
- Add BOQ Item - Continue adding more materials to links
- Save as Draft - Save progress without proceeding
- Continue - Move to the Project Budget step
Completion Confirmation: The system will ask if you're done adding BOQ items:
- "No, Add More Items" - Continue adding additional materials
- "Yes, Continue" - Proceed to the Budget configuration step
Next Steps
After completing the Project BOQ:
- The Project Budget tab becomes available
- BOQ costs are added into budget calculations
- Material requirements can be used for procurement planning
- The system uses BOQ data for Material Resource Plan (MRP) generation
Editing BOQ Later
- BOQ items can be modified while in draft status or before submission for approval
- Use "Save as Draft" to preserve changes
- Items can be added, removed, or quantities adjusted
Integration with Other Modules
Inventory Management:
- BOQ items link to inventory catalog for availability checking